Gain Staging and Input Levels
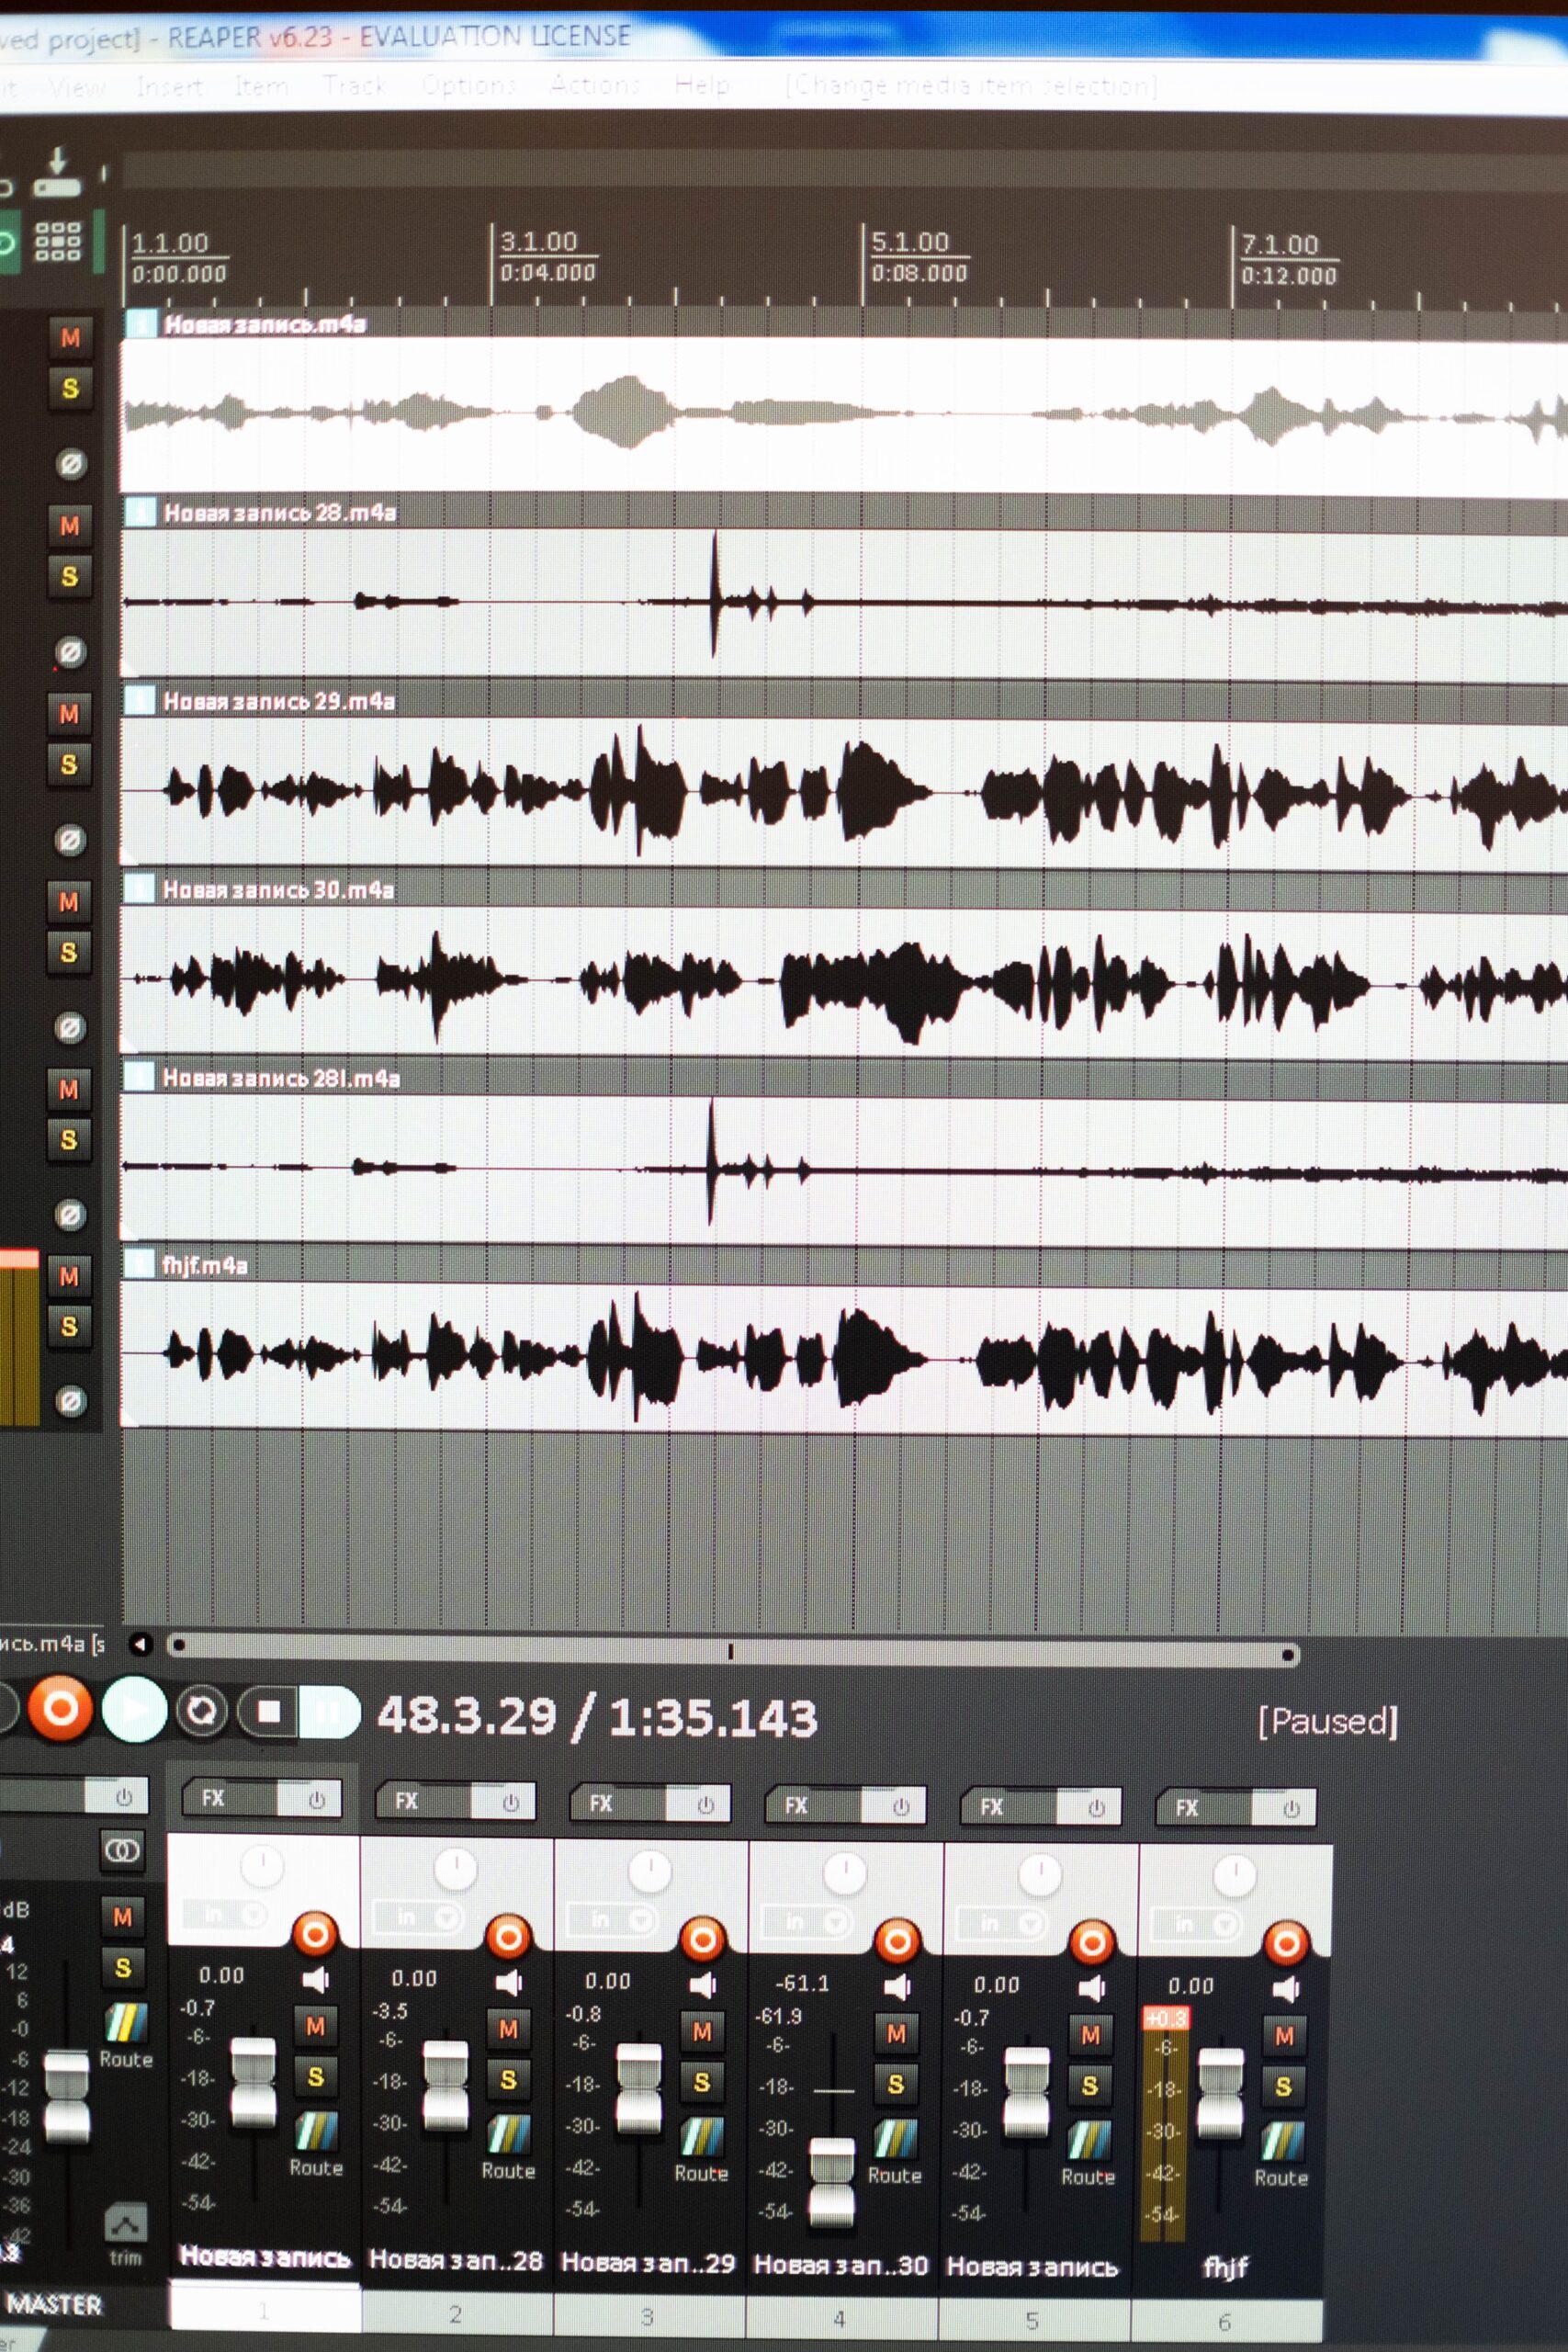
Proper gain staging forms the foundation of any effective audio mastering checklist for musicians aiming to achieve professional results. Set your track’s peak levels between -6dBFS and -3dBFS to preserve headroom for subsequent processing without introducing clipping or unwanted distortion. Use a peak meter to monitor every stage from the DAW output through plugins, ensuring no stage exceeds -1dBFS. Adjust faders and trim controls incrementally while listening for noise floor issues. This step prevents cumulative gain problems that degrade clarity in the final master. Musicians often overlook this, leading to masters that sound thin or harsh when streamed on platforms like Spotify.
- Verify input gain on all channels before bus processing
- Reset plugin gains to unity before applying effects
- Test with pink noise at -12dBFS for reference calibration
- Avoid unnecessary amplification in early chain stages
EQ Adjustments for Balance
EQ is critical in the ultimate audio mastering checklist to sculpt frequency response and create space in the mix. Apply subtractive EQ first to remove mud around 200-400Hz and harshness near 2-5kHz using narrow Q filters. Boost highs above 10kHz sparingly with a gentle shelving curve for air without sibilance. Reference spectrum analyzers to match target curves from commercial tracks in similar genres. Check for frequency masking by soloing elements and sweeping bands. This ensures the master translates well across consumer devices.
- Cut resonances identified via real-time analyzer
- Use linear phase EQ for minimal phase shift on full mixes
- Compare A/B with bypassed processing every 30 seconds
- Target overall tonal balance with low-end under 120Hz controlled
Dynamic Processing with Compression
Compression controls dynamics and adds cohesion during mastering. Employ a transparent compressor with a 2:1 to 4:1 ratio, slow attack times around 30ms, and release matching the tempo. Target 2-4dB of gain reduction on peaks for glue without squashing transients. Multiband compression addresses specific ranges like taming low-end boom while preserving midrange punch. Monitor RMS levels to maintain musicality. Musicians benefit from this in the audio mastering checklist by achieving consistent loudness suitable for modern streaming.
- Set threshold to catch only the loudest 10% of material
- Automate makeup gain to compensate reduction
- Parallel compress a duplicate bus at 10:1 for density
- Bypass and compare perceived loudness changes
Stereo Imaging and Width Control
Stereo enhancement expands the soundstage without compromising mono compatibility. Use mid-side processing to widen highs above 8kHz while keeping lows centered below 150Hz. Apply correlation meters to ensure values stay above 0.5 for stability. Limit widening to 20-30% to avoid phase issues on club systems. This element of the mastering checklist for musicians enhances immersion in headphones while ensuring fold-down to mono remains punchy.
- Pan elements slightly wider in the upper mids
- Employ stereo imagers with adjustable crossover points
- Test mono sum for loss of important information
- Avoid over-widening vocals or kick drums
Limiting and Loudness Maximization
Limiting sets the ceiling and maximizes perceived volume in the final stages. Use a brickwall limiter with true peak detection to stay under -1dBTP. Aim for integrated LUFS targets of -14 for streaming platforms. Apply 3-6dB of limiting gradually across multiple stages rather than one heavy pass. This prevents inter-sample peaks that distort on playback. Incorporate this rigorously in your audio mastering checklist to meet platform standards without sacrificing dynamics.
- Monitor short-term LUFS during chorus sections
- Use lookahead features for transparent peak control
- Compare loudness matched references
- Export test files at various ceiling settings
Phase Correction and Mono Checks
Phase alignment ensures clarity and power in low frequencies. Flip polarity on tracks showing negative correlation and use phase rotation tools for timing offsets. Perform mono compatibility tests by summing left and right channels. This step in the mastering checklist for musicians avoids cancellations that weaken bass response on single-speaker playback.
- Insert phase correlation plugins on the master bus
- Adjust delay compensation for multi-mic sources
- Listen on a mono Bluetooth speaker for validation
- Correct comb filtering from improper mic placement
Reference Track Integration
Reference tracks guide objective decisions throughout mastering. Load 3-5 commercial songs matching your genre and switch between them frequently. Match levels using loudness normalization before comparison. Note differences in width, punch, and tonal balance. This practice refines the ultimate audio mastering checklist by providing external benchmarks for quality.
- Normalize references to -14 LUFS before A/B
- Focus on one section like the drop or verse
- Note translation on small speakers
- Update references as trends evolve
Monitoring Across Systems
Testing on varied playback setups reveals translation issues. Play masters on car stereos, earbuds, laptop speakers, and club monitors. Listen at low volumes to check balance. This verification ensures the master holds up universally. Musicians following this in the audio mastering checklist reduce revision needs post-release.
- Spend equal time on nearfield and farfield monitors
- Use multiple headphone models for detail assessment
- Check in a treated room and untreated space
- Note any frequency buildup or loss
Metadata Embedding and File Export
Proper metadata includes track titles, artist names, ISRC codes, and artwork. Embed these in WAV or FLAC files using tools like iZotope RX or Adobe Audition. Export at 24-bit 96kHz for distribution masters. Include lyrics and credits where platforms support. Accurate files streamline uploads and royalty tracking.
- Assign unique ISRC per track before finalizing
- Embed album art at 3000×3000 pixels minimum
- Verify tags in media players post-export
- Prepare stems if requested by distributors
Final Quality Control and Delivery
Conduct a full listen-through at multiple volumes without pausing. Log any anomalies like clicks or dropouts. Deliver stems and masters in requested formats with documentation. This closes the audio mastering checklist loop for musicians seeking polished releases.