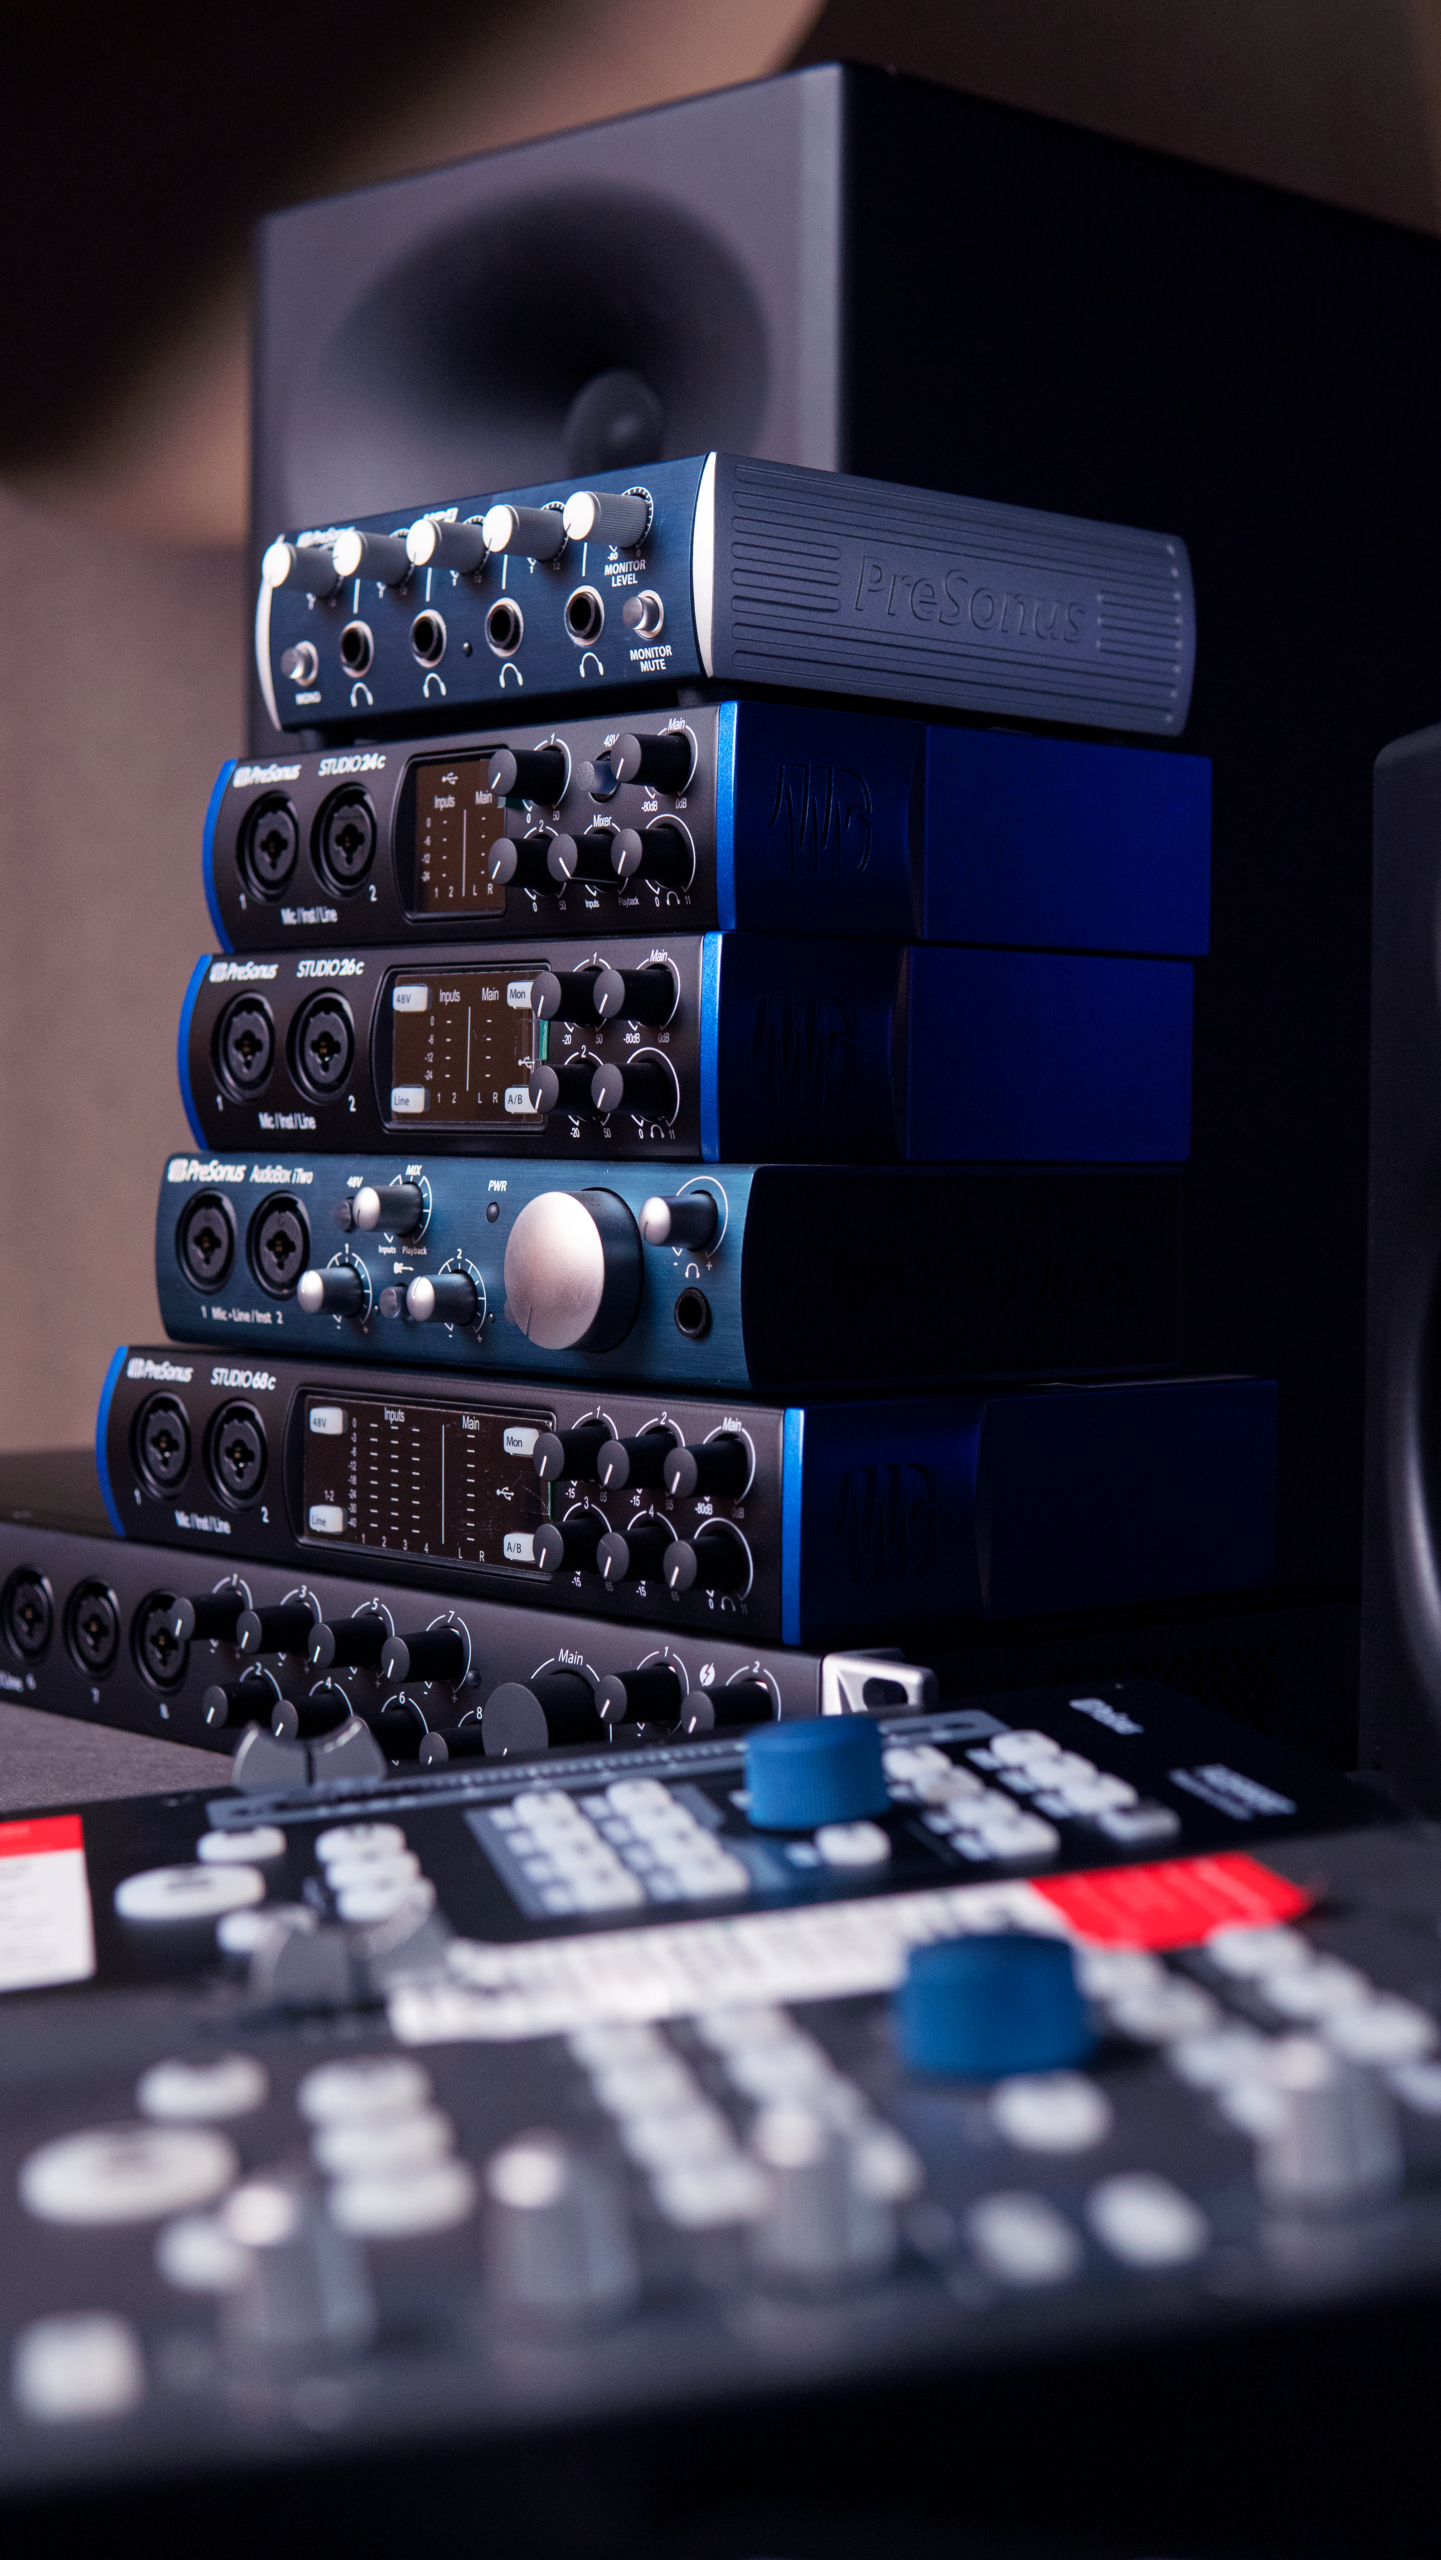
Understanding Equalizer Basics for Optimal Audio
An equalizer adjusts the balance of frequency components in an audio signal to achieve better sound quality. Frequencies range from 20 Hz to 20 kHz, with low-end bass controlling thump and warmth, midrange handling clarity in vocals and instruments, and treble adding sparkle and detail. Using an equalizer for better sound quality starts by identifying your audio source, whether headphones, speakers, or car systems, then targeting specific bands to reduce muddiness or enhance presence. Graphic equalizers offer fixed sliders for quick tweaks, while parametric versions allow precise control over gain, frequency, and Q factor for surgical adjustments.
Exploring Frequency Bands and Their Impact
Bass frequencies between 20-60 Hz deliver sub-bass rumble felt more than heard, ideal for EDM tracks but prone to distortion if boosted excessively. The 60-250 Hz range adds punch to kick drums and bass guitars; cut here by 3-6 dB if your mix sounds boomy. Lower mids from 250-500 Hz influence warmth in guitars yet cause boxiness when overemphasized. Upper mids 500 Hz-2 kHz define vocal intelligibility and snare attack, making them crucial for better sound quality in podcasts or rock music. Presence frequencies 2-5 kHz bring instruments forward, while 5-10 kHz adds air to cymbals and hi-hats. The 10-20 kHz shelf enhances brilliance but risks harshness on bright headphones.
Setting Up Your Equalizer Hardware or Software
Begin by setting all bands flat at 0 dB. Play reference tracks you know well at moderate volume. Use a spectrum analyzer app to visualize peaks and dips in your listening environment. For graphic EQ apps on smartphones, slide low bands down 2 dB to tame rumble from room acoustics. Parametric EQ in DAWs like Ableton lets you create bell curves with narrow Q for notching out 60 Hz hum from electrical interference. On Windows, access the built-in equalizer via sound settings and apply a gentle high-shelf boost at 8 kHz for clearer dialogue in videos. Mac users leverage Music app EQ presets as starting points before fine-tuning manually.
Genre-Specific Equalizer Settings
For hip-hop, boost 40-80 Hz by 4 dB for deep bass while cutting 200-400 Hz to avoid mud. Rock benefits from a 3 dB lift at 2-4 kHz to accentuate guitar bite and vocal edge. Classical music requires subtle adjustments, such as attenuating below 30 Hz to prevent speaker strain and enhancing 1-3 kHz for string detail. Electronic dance tracks gain impact with a low-shelf boost at 60 Hz and high-shelf at 12 kHz for shimmer. Jazz listeners often prefer neutral mids with slight attenuation around 250 Hz for tighter upright bass response. Always A/B test changes by toggling the EQ bypass to confirm improvements in overall clarity and balance.
Advanced Techniques Using Parametric Equalizers
Apply high-pass filters at 80 Hz for vocals to eliminate rumble without affecting body. Create dynamic EQ where bands only engage above certain thresholds, preventing over-compression on loud passages. Use linear phase modes in plugins to avoid phase shifts that smear stereo imaging. For better sound quality on live streams, notch problematic resonances identified via real-time analysis at 315 Hz or 1.6 kHz. Combine multiple bands with opposing curves, such as cutting 1 kHz by 2 dB and boosting 3 kHz by 3 dB, to add perceived loudness without raising overall gain.
Platform Guides for Consistent Results
Spotify users adjust in-app EQ by navigating to settings and selecting custom curves that emphasize 100 Hz for warmth on mobile earbuds. YouTube playback benefits from browser extensions offering 10-band graphic control to compensate for compressed audio streams. Car audio systems typically feature 3-5 band EQs; start by lowering 100 Hz if road noise masks bass. Streaming services like Apple Music include spatial audio EQ options that interact with head tracking, requiring recalibration when switching devices. Gaming headsets often include software sliders; prioritize midrange cuts around 800 Hz to improve footsteps in competitive titles.
Troubleshooting Common Sound Quality Issues
If audio feels dull, increase presence around 3-5 kHz by 2-4 dB rather than cranking treble. Harshness at high volumes indicates excessive 2-6 kHz energy; apply a gentle cut with wide Q. Muffled sound usually stems from over-boosted lows, so roll off below 40 Hz. Feedback loops in microphones get tamed by identifying and cutting the offending frequency, often 1-3 kHz. Battery-powered Bluetooth speakers distort easier at low frequencies, so limit bass boost to 3 dB maximum. Room modes causing peaks at 50 Hz or 200 Hz are addressed with absorption combined with targeted EQ dips.
Measuring Progress with Tools and References
Download free spectrum analyzers like Voxengo Span to monitor real-time frequency response. Reference commercial tracks mastered to -14 LUFS and compare your adjusted output. Measure before-and-after using loudness meters to ensure perceived quality gains without dynamic range loss. Test across multiple playback systems, from laptop speakers to studio monitors, confirming the equalizer settings translate universally. Track changes in a spreadsheet noting frequency, gain, and subjective descriptors like “punchier” or “airier” for repeatable results.
Maintaining Hearing Health While Optimizing Sound
Keep levels below 85 dB SPL during extended sessions to prevent fatigue that masks subtle EQ improvements. Use pink noise calibration tracks to set reference volumes accurately. Take breaks every hour and reset your ears with unprocessed audio. Avoid boosting frequencies where your hearing shows age-related roll-off, typically above 8 kHz, as this amplifies distortion. When using an equalizer for better sound quality on personal devices, enable volume limiting features to protect long-term auditory health.